
1. Use Vickers hardness tester of welded parts (Weld Vickers hardness test) method:
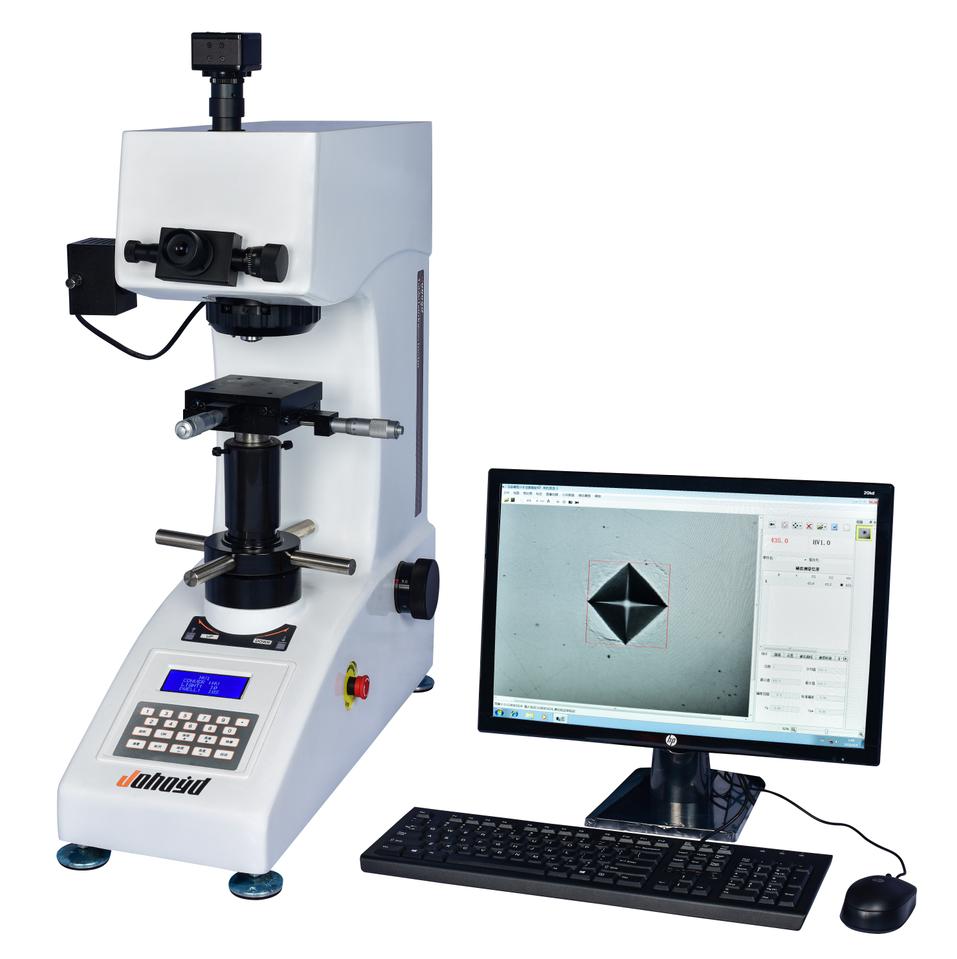
Since the microstructure of the joint part of the weldment (weld seam) during welding will change during the formation process, it may form a weak link in the welded structure. The hardness of the welding can directly reflect whether the welding process is reasonable. Then the Vickers hardness An inspection method is a method that helps evaluate the quality of welds. The Vickers hardness tester of Johoyd Hardness testing on welded parts or welding areas. When using the Vickers hardness tester to test welded parts, the following test conditions should be noted:
Flatness of the sample: Before testing, we grind the weld to be tested to make its surface smooth, free of oxide layer, cracks and other defects.
On the center line of the weld, take a point on the curved surface every 100 mm for testing.
Choosing different test forces will result in different results, so we must choose the appropriate test force before testing.
2. How to use Vickers hardness tester (micro Vickers hardness tester) to detect the depth of hardened layer?
How to detect the depth of the hardened layer of steel parts with surface treatment such as carburizing, nitriding, decarburization, carbonitriding, etc., and steel parts that have been induction quenched?
The effective hardened layer depth is mainly used to locally heat the surface to cause structural and performance changes on the surface of the steel to achieve the effect of increasing hardness and strength and toughness. It refers to the measurement from the vertical direction of the part surface to the specified microstructure boundary. Or the hardened layer distance of the specified microhardness. Usually we use the gradient hardness method of the Vickers hardness tester to detect the effective hardened layer depth of the workpiece. The principle is to detect the effective hardened layer depth based on the change in micro-Vickers hardness from the surface to the center of the part.
The following is a simple operation introduction:
Prepare the sample as required, and the testing surface should be polished to a mirror surface.
Select the test force of the Vickers hardness tester. The hardness gradient is measured at two or more locations. The Vickers hardness is measured on one or more parallel lines perpendicular to the surface.
Drawing a hardness curve based on the measured data, it can be known that the vertical distance from the surface of the part to 550HV (generally) is the effective hardened layer depth.
3. How to use Vickers hardness tester for fracture toughness testing (fracture toughness Vickers hardness testing method)?
Fracture toughness is the resistance value displayed by the material when the specimen or component fractures under unstable conditions such as cracks or crack-like defects.
Fracture toughness represents the ability of a material to prevent crack propagation and is a quantitative indicator of the toughness of a material.
When doing the fracture toughness test, first polish the surface of the test sample to a mirror surface. On the Vickers hardness tester, use the conical diamond indenter of the Vickers hardness tester to make an indentation on the polished surface with a load of 10Kg. Prefabricated cracks are generated at the four vertices of the mark. We generally use a Vickers hardness tester to obtain fracture toughness data.